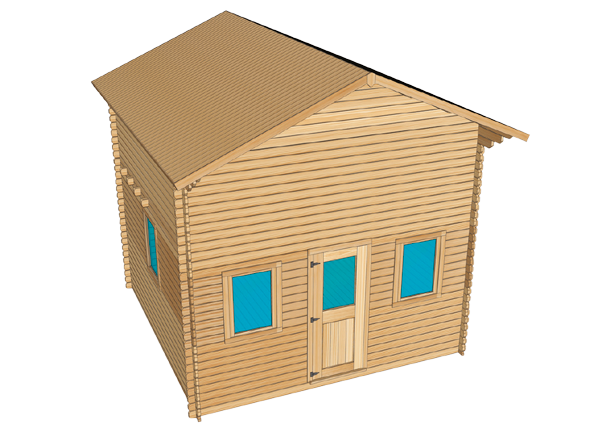
How to Build a Wiserwood Bunkie
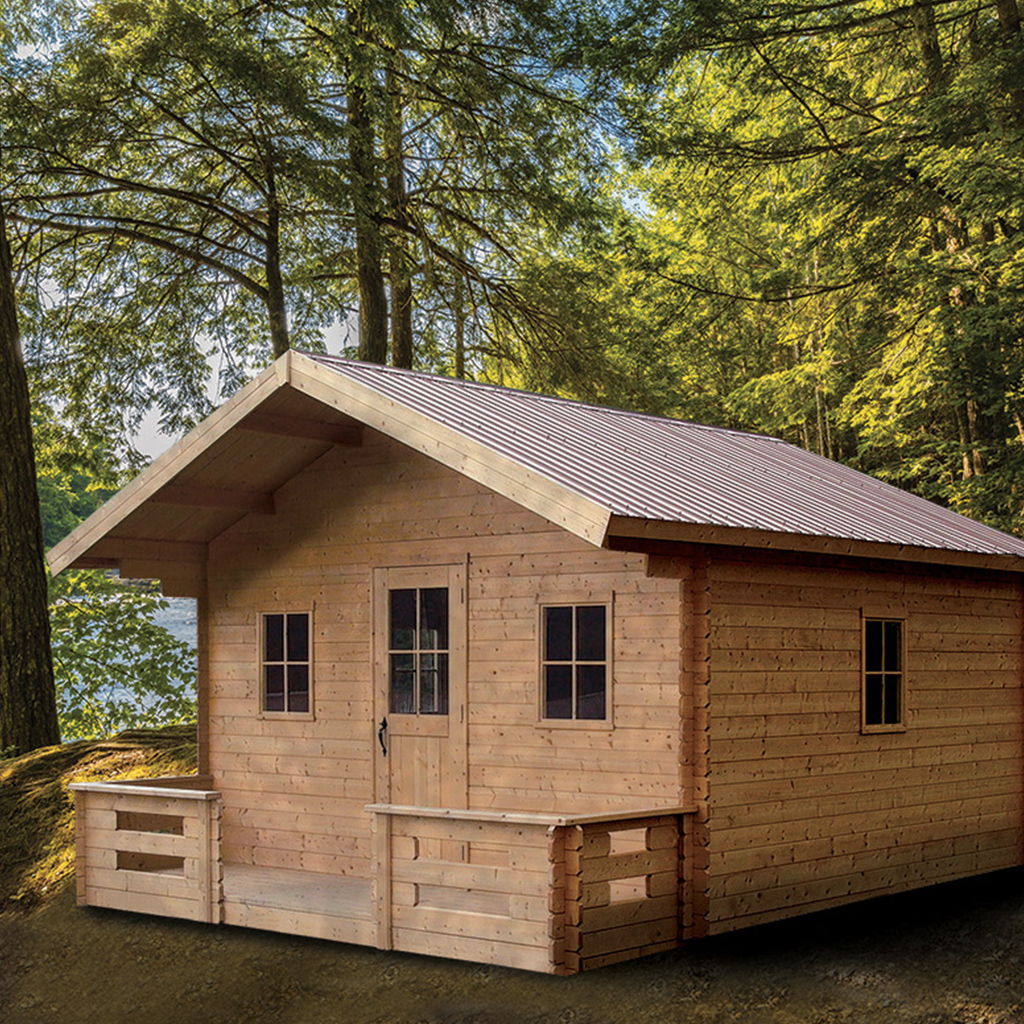
Assemble your mini cottage or bunkie kit in a few days!
Here’s how to build your bunkie or mini cottage kit form in a few days with your friends. We deliver all the materials you need to build your new bunkie kit: wood, doors and windows, all the necessary hardware and clear and precise instructions.
Pre-Assembly Instructions
Before your start your project, make sure you validate the following elements.

Check with your municipality for any permits or building requirements.

Gather a group of 4+ of DYI friends who will help you with the assembly.

Plan a 4 day project soon after you receive your package.

Choose an elevated site with well-drained soil where water does not accumulate.

Hammer
Nail punch
Ribber mallet
Tape measure
Drill
Square screwdriver (#2 for screw #8 and #3 for screw #10)
Bit, 3/16″
Level, 48″
Ladder, 6’ (16’ scaffolding for the Refuge)
Saw (optional)
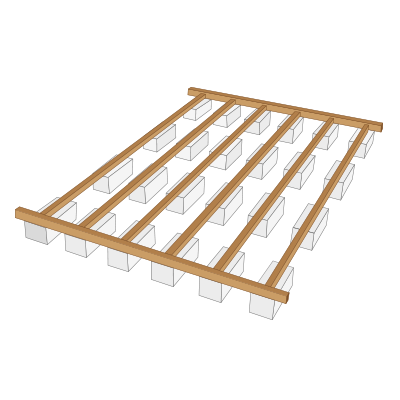
Set the Foundation
Various options for the foundation are available, depending on your budget. Discuss your optimal options with a building or landscape professional:

Treated Woods Blocks
Solid Concrete Blocks

Helical Piers

Cast Cement Footings
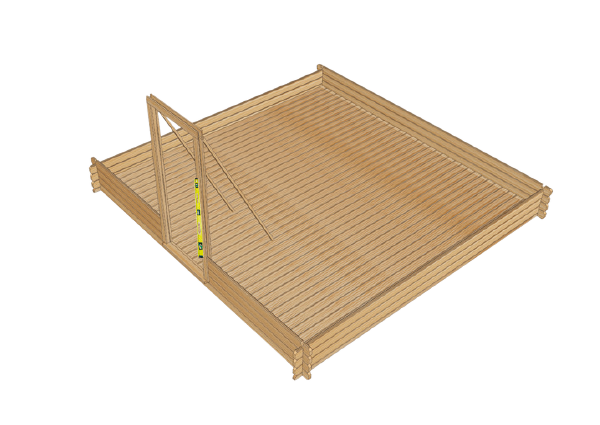
Start your assembly with the floor and door frame.
1 – Header and edge joists
2 – Joists and bridging
3 – Starter planks
4 – Floor planks
5 – Start of the walls
6 – Put the door frame in place
7 – Temporary bracing
You are now ready to assemble the walls.
1 – Assemble the walls
2 – Assemble front (F2 and F3) and side (CF1) planks
3 – Install the #2 window frames
4 – Assemble the walls to top of windows
5 – Install the mezzanine floor joists
6 – Install the mezzanine floor joists
7 – Install the mezzanine floor planks
8 – Assemble the upper walls

Assembling the roof.
1 – Install the gable bases (0A) and intermediate beams
2 – Install the gable tops (0B), ridge beam and intermediate beams
3 – Install the roof bridging
4 – Install the roof planks
5 – Install the roof braces
6 – Install the fascia boards
7 – Install the roof peak finish boards

Finishing the openings.
01 – Position the door
02 – Attach the hinges
03 – Install the door knob
04 – Install the windows
05 – Install the ladder
06 – Install the balustrade and support posts
07 – Install the front wall brace
08 – Install the inside corners
09 – Apply sealant
10 – Roofing material
11 – Protect your wood
12 – Check the inside corners
13 – Check the foundation